<head> <title>Example 01.01 - Basic skeleton</title> <scripttype="text/javascript"src="../libs/three.js"></script> <style> body { /* set margin to 0 and overflow to hidden, to use the complete page */ margin: 0; overflow: hidden; } </style> </head> <body>
<!-- Div which will hold the Output --> <divid="WebGL-output"> </div>
<!-- Javascript code that runs our Three.js examples --> <scripttype="text/javascript"> // once everything is loaded, we run our Three.js stuff. functioninit() { // here we'll put the Three.js stuff } window.onload = init </script> </body> </html>
<head> <title>Example 01.02 - First Scene</title> <scripttype="text/javascript"src="../libs/three.js"></script> <style> body { /* set margin to 0 and overflow to hidden, to go fullscreen */ margin: 0; overflow: hidden; } </style> </head> <body>
<!-- Div which will hold the Output --> <divid="WebGL-output"> </div>
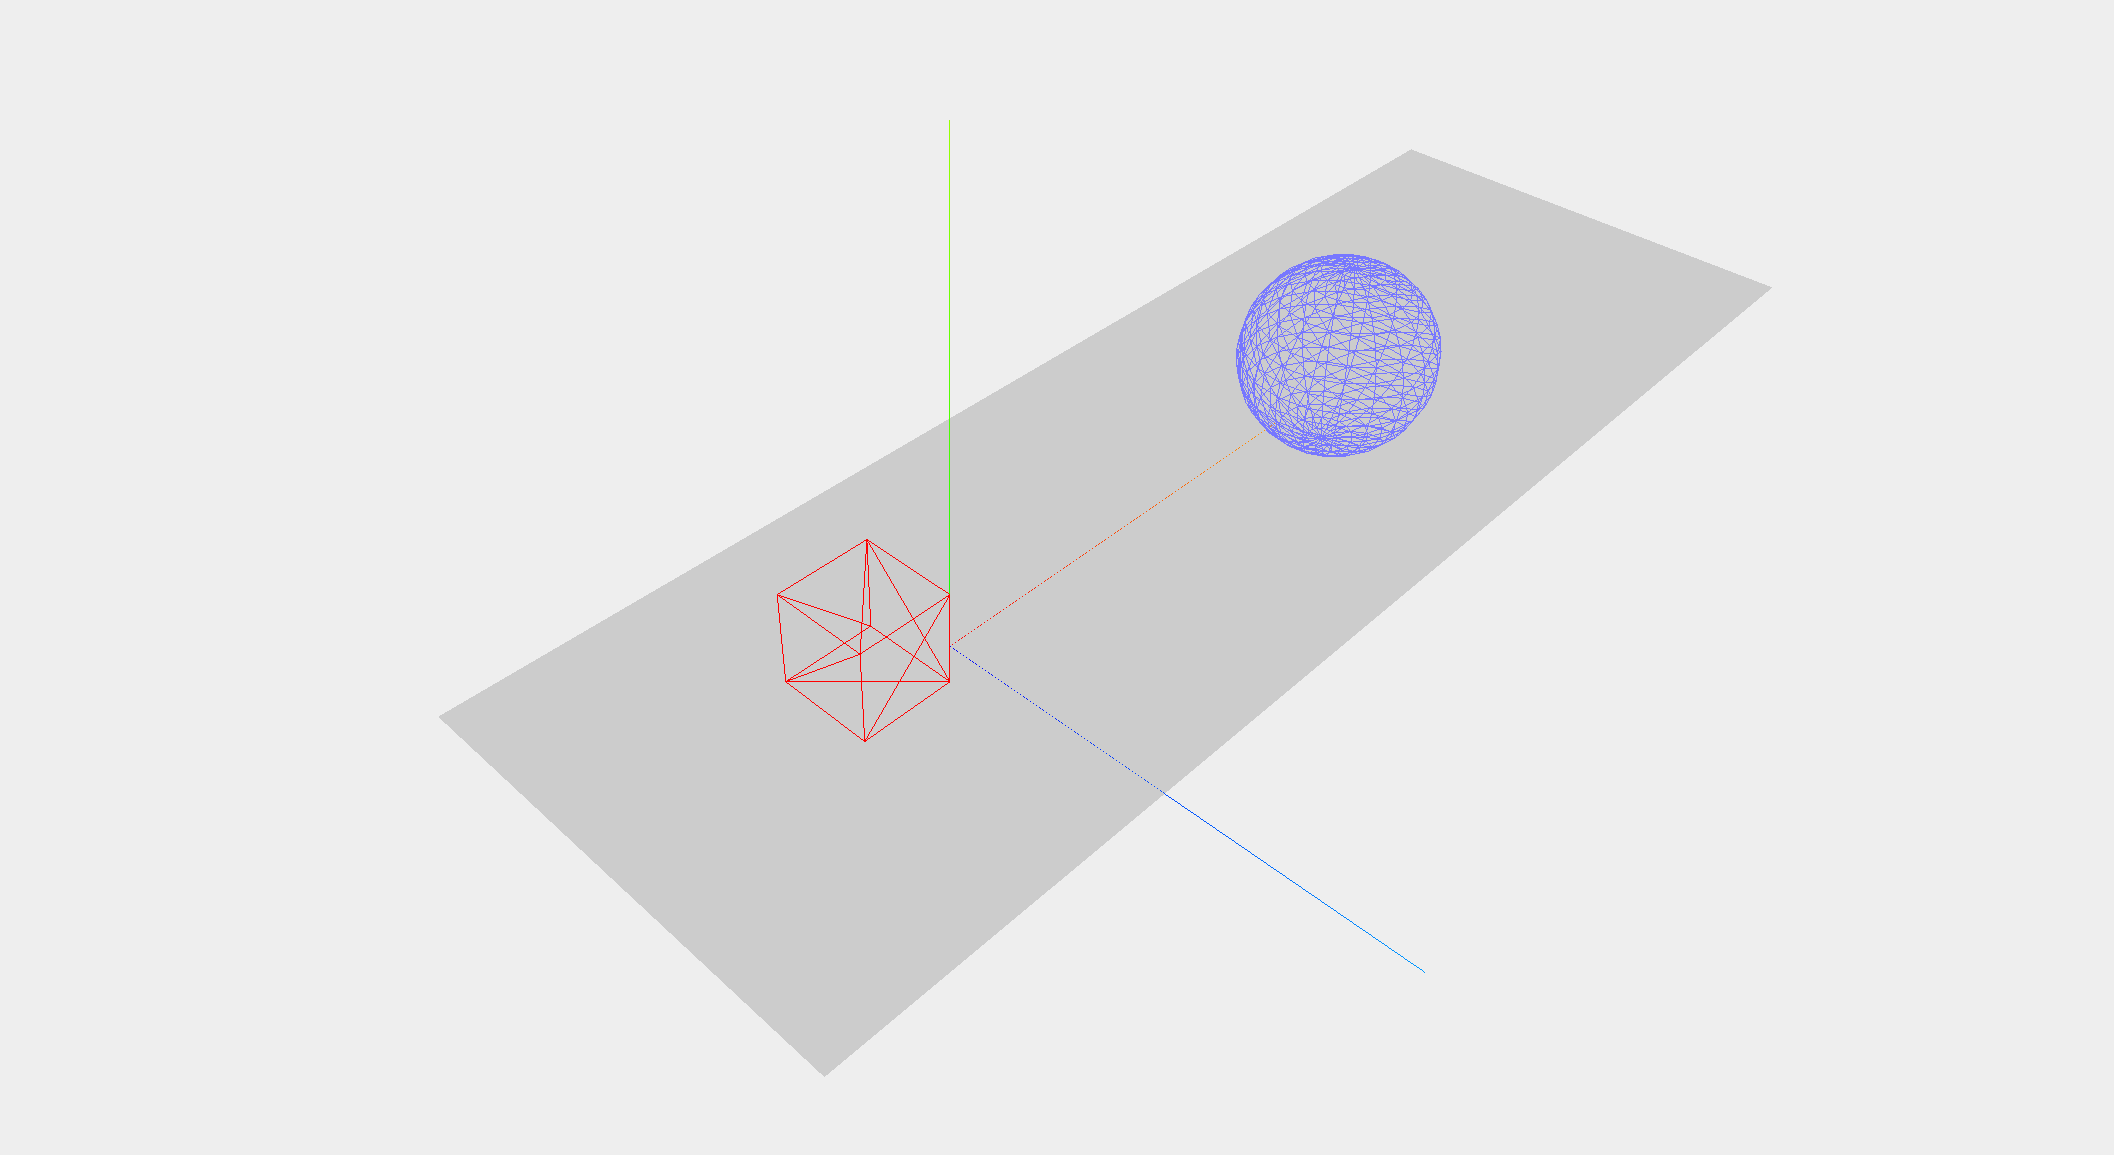
<!-- Javascript code that runs our Three.js examples --> <scripttype="text/javascript"> // once everything is loaded, we run our Three.js stuff. functioninit() { // create a scene, that will hold all our elements such as objects, cameras and lights. // 创建场景 const scene = newTHREE.Scene(); // create a camera, which defines where we're looking at. // 创建相机 const camera = newTHREE.PerspectiveCamera(45, window.innerWidth / window.innerHeight, 0.1, 1000); // create a render and set the size // 创建渲染器并设置大小 const renderer = newTHREE.WebGLRenderer(); renderer.setClearColorHex(); renderer.setClearColor(newTHREE.Color(0xEEEEEE)); renderer.setSize(window.innerWidth, window.innerHeight); // show axes in the screen // 显示坐标系 const axes = newTHREE.AxisHelper(20); scene.add(axes); // create the ground plane // 创建平面 const planeGeometry = newTHREE.PlaneGeometry(60, 20); const planeMaterial = newTHREE.MeshBasicMaterial({color: 0xcccccc}); const plane = newTHREE.Mesh(planeGeometry, planeMaterial); // rotate and position the plane plane.rotation.x = -0.5 * Math.PI; plane.position.x = 15; plane.position.y = 0; plane.position.z = 0; // add the plane to the scene scene.add(plane); // create a cube // 创建立方体 const cubeGeometry = newTHREE.BoxGeometry(4, 4, 4); const cubeMaterial = newTHREE.MeshBasicMaterial({color: 0xff0000, wireframe: true}); const cube = newTHREE.Mesh(cubeGeometry, cubeMaterial); // position the cube cube.position.x = -4; cube.position.y = 3; cube.position.z = 0; // add the cube to the scene scene.add(cube); // create a sphere // 创建球形 const sphereGeometry = newTHREE.SphereGeometry(4, 20, 20); const sphereMaterial = newTHREE.MeshBasicMaterial({color: 0x7777ff, wireframe: true}); const sphere = newTHREE.Mesh(sphereGeometry, sphereMaterial); // position the sphere sphere.position.x = 20; sphere.position.y = 4; sphere.position.z = 2; // add the sphere to the scene scene.add(sphere); // position and point the camera to the center of the scene camera.position.x = -30; camera.position.y = 40; camera.position.z = 30; camera.lookAt(scene.position); // add the output of the renderer to the html element document.getElementById("WebGL-output").appendChild(renderer.domElement); // render the scene // 渲染场景 renderer.render(scene, camera); } window.onload = init; </script> </body> </html>